Easy Wipeboard
 CD Case Wipeboard!
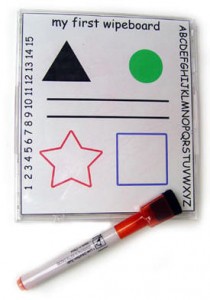
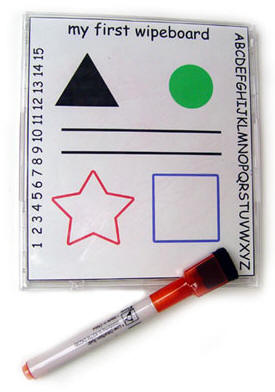
Here’s a chance for your toddler to make his/her own mini wipeboard. You’ll need an old plastic cd case for this activity. Remove the plastic cd holder part of the back cover on the case and put it aside. Then print out the “my first wipeboard” sheet and cut on the black line. Then place the cutout in the back of the cd case so that it showing on the backside of the case. Next, put the plastic cd holder part back in the case and close the case. You might want to tape the case shut depending on how curious your toddler is. Then let your toddler have fun writing on the back of the case over the “my first wipeboard” cutout with the shapes, letters and such! Ask your toddler to draw on the green circle, or inside the red star! Erase and draw again!
![]() Supplies needed:
Supplies needed:
– printer and paper to print cutout shown in photo
– plastic cd case
– dry erase marker, non-toxic. ( washable markers and crayons will also work)
– scissors
![]() Tips/Suggestions:
Tips/Suggestions:
– If you don’t have a printer you can always just cut out some paper and put it in the cd case. Cut the paper to a size of 4 5/8 ” x 5 3/8 “.
– Talk about the shapes and letters and numbers that you see on the wipeboard while your toddler is drawing on it.

